

- Oracle Linux Specific Features
- Introduction Linux Quiz
- OpenSSH
- GRUB Bootloader
- Systemd
- Managing Time
- Kernel & Device Configurations
- Package Management
- YUM
- Creating local yum repo
- DNF
- Ksplice
- Users & Groups Administration
- Using Cockpit to manage Users/Groups with UI
- Partitions, File Systems & Swap
- Networking
- Useful Commands
Oracle Linux Specific Features #
- Ksplice
- Compatible with RHEL
- Unbreakable Linux Kernel
- DTrace
- Btrfs File System
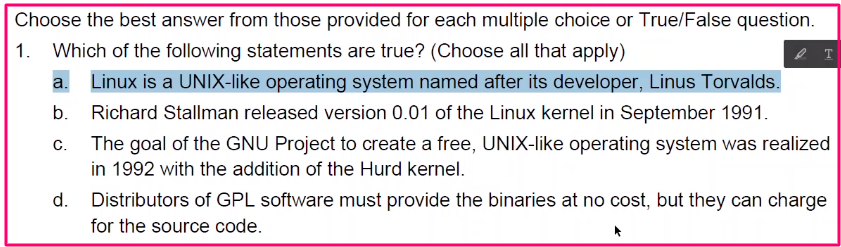
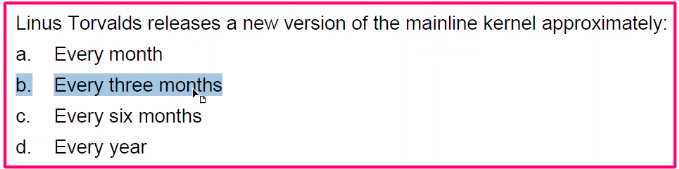
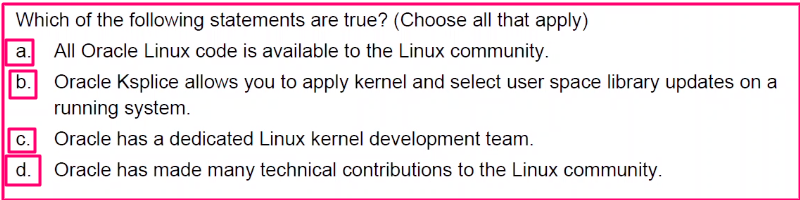
Introduction Linux Quiz #


OpenSSH #
ssh
scp
sftp
sshd (OpenSSH daemon)
ssh-keygen
ssh-agent, ssh-add

Configuration Files
- /etc/ssh/ssh_config (ssh client configuration file)
- /etc/ssh/sshd_config (configuration for ssh daemon)
- /etc/pam.d/sshd
- /etc/sysconfig/sshd
ssh into a remote machine without providing password
On the local machine generate a new public/private key pair. Then copy the public key to the remote server and name it authorized_keys.
Now, when SSH into the remote, you wont need to enter any password.
GRUB Bootloader #
Boot mode:
We can have BIOS or UEFI. BIOS are relatively old, support only 2TB of disks and have some hardware limitations.
The secure boot is one of the biggest advantages for the UEFI.
GRUB 2 Bootloader reads the grub.cfg file on startup. It does not expect a specific directory to boot but instead we can specify the file system where the .cfg file exists.
We can generate these grub.cfg files and select a destination directory with the grub2-mkconfig script like so:
- grub2-mkconfig -o /boot/grub2/grub.cfg (BIOS)
- grub2-mkconfig -o /boot/efi/EFI/redhat/grub.cfg (UEFI)
grub2-mkconfig script uses tempalte and configurations from the /etc/grub.d and /etc/default/grub the generate the .cfg file.
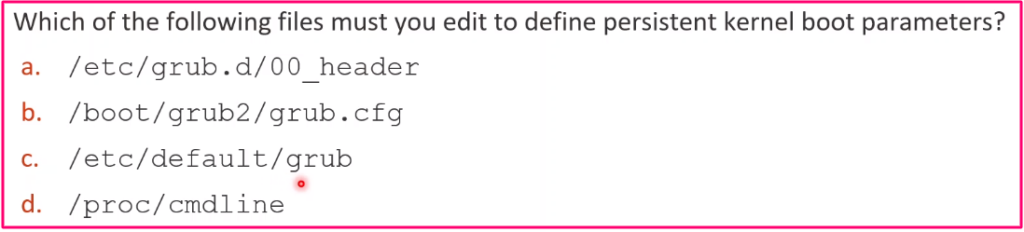
Many boot parameters can be changed in /etc/default/grub file, such as the panic parameter that automatically reboot the system after a fatal error:
GRUB_TIMEOUT=5
GRUB_DISTRIBUTOR="$(sed 's, release .*$,,g' /etc/system-release)"
GRUB_DEFAULT=saved
GRUB_DISABLE_SUBMENU=true
GRUB_DISABLE_RECOVERY="true"
GRUB_ENABLE_BLSCFG=true
We can see the boot parameters after the boot time in the /proc/cmdline file.
Setting the defaut-kernel can be achieved with 2 ways:
- grub2-set-default …
- grubby –set-default …
List the bootable kernels on the system
grep -h ^title /boot/loader/entries/*

grep -h ^linux /boot/loader/entries/*
List the initial RAM disk filenames
grep -h ^initrd /boot/loader/entries/*List the kernel files
ll /boot/vmlinuz*List the initial RAM disk files
ll /boot/initramfs*Kernel boot parameters
uname -rOption specified in bootloader entries
grep ^options /boot/loader/entries/*

Result:
/boot/loader/entries/b7fefbc3044391c71e6ba7c32bc74452-0-rescue.conf:options $kernelopts $tuned_params
The main bootable kernel uses 2 options: $kernelopts and $tuned_params.
To specify the $kernelopts parameters:
grep 'set kernelopts' /boot/grub2/grub.cfgFind the default kernel entry
grub2-editenv list

saved_entry=b7fefbc3044391c71e6ba7c32bc74452-5.4.17-2136.314.6.2.el8uek.x86_64
Change the default kernel using grub2-set-default
# First find the kernel you want to use
grep -l 4.18.0 /boot/loader/entries/*

Result:
/boot/loader/entries/e82775cd9aef4bf88a199fdcb288716d-4.18.0-372.26.1.0.1.el8_6.x86_64.conf

# Change the default kernel
grub2-set-default e82775cd9aef4bf88a199fdcb288716d-4.18.0-372.26.1.0.1.el8_6.x86_64

# And reboot the system
Change the default kernel using grubby
grubby --set-default=/boot/vmlinuz-5.4.17-2011.7.4.el8uek.x86_64Generate new grub.cfg file after changing a boot parameter in /etc/default/grub file
grub2-mkconfig -o /boot/grub2/grub.cfgBoot parameters, like panic, can be found in:
cat /proc/sys/kernel/panicInitial RAM filesystem
The initramfs is the initial filesystem that loads various support for hardware modules and drivers, before the kernel is loaded and the root FS is built.
List the initial RAM disk files
ls /boot/initramfs*Search modules in the initial RAM disk file. We will search for the FAT module
lsinitrd /boot/initramfs-version.img | grep fatCreate custom module configuration
vi /etc/dracut.conf.d/10-fat.conf

# And add the following
add_drivers+=" fat "
Re-create initramfs.img
dracut /boot/initramfs.<version>.img <kernel version>Boot parameters from the command line upon system boot

As you can see, the boot parameters passed in this case is rhgb and quiet.
You can find what each means here.
Keep in mind that the boot parameter that we specify during the boot screen are not persistent. To make them persistent we need to make changes on the grub files as we discussed above.

Systemd #
Systemd speeds up booting by loading services concurrently. It is also the first process that starts after the system boots.
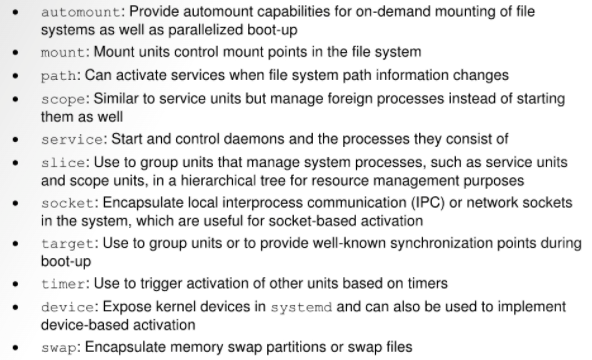
Systemd Unit defines the system resource and services that systemd manages. Following some examples of systemd units
- target, provides synchronisation points during boot up. So we can control one service won’t start until another target starts.
- service, manage the lifecycle of an application service
- socket, activate network services
- mount, control mounting file system
- timer, trigger activation of other units based on calendar or duration
Control system with systemd, using systemctl command:
- systemctl halt
- systemctl reboot
- systemctl poweroff
- systemctl suspend (save system state to disk and halts the system)
- systemctl hibernate (save the system state to disk and shuts down the system)
- systemctl default (takes the system to default booted state)
Check which services are enabled and disabled
systemctl list-unit-files --type serviceCheck all systemd services in system
systemctl list-units --type service --allEven a disabled services can be started by other targets. To prevent this we can use the following command:
systemctl mask servicenameOther useful suystemctl commands
systemctl is-active servicename

systemctl is-enabled servicename

systemctl --state=failed
Systemd Unit Files
Systemd Unit files are listed in different directories.
- /usr/lib/systemd/system (installed files)
- /run/systemd/system (transient files)
- /etc/systemd/system (override systemd files)
/etc/sysconfig/crond
Contains historical system initd services like crond.
Anatomy of a systemd unit file:
- [Unit]
includes many options available to all unit types. Some of them are
- Description
- Documentation
- Before, After – Ordering dependencies between Units
- Wantsp – Identify other units that must be activated at the same time
- [Install]
This includes options that are used when enabling a unit
- Alias, symbolic links for this unit for the alias that is enabled
- WantedBy, Units that want this unit activated before they start
- Also, other units that need to be enabled with this unit
- [Service]
- ExacStart
- ExecStartPre
- ExecStartPost
- ExecReload
- ExecStop, command to stop the service instead of using signals
- Environment, environment variable name and value
- EnvironmentFile, path to environment variables and names file
Socket Units
They are useful when we want to enable a service when the client connects via socket. When a connection is made systemd socket unit will automatically start the service to handle the request.
Customize a service unit using drop-in file
mkdir /etc/systemd/system/crond.service.d
vi /etc/systemd/system/crond.service.d/10-options.conf
# and add a [Service] section with all the configurations in it

systemd unit file types
systemctl list-unit-filesOutput:
Managing Time #
OL has 3 command-line utilities that control the time and date:
- date (to disaply system time)
- hwclock (to sync hardware time with system time)
- timedatectl ()
Chrony
Chrony is provides a client-server implementation of NTP. It was designed for systems that are usually disconnected from internet suck as laptops. The main configuration chrony files are in /etc/chrony.conf. The daemon that is running on the use space is the chronyd. the command line prompt for chrony is chronyc.
For example, to view which server is our chrony sync’ed use
chronyc sourcesAutomating System Tasks
OL can run applications automatically. The main utilities are cron, anacron, and systemd timers.
- cron, can run a task as often as every minute. the primary file is iin the /etc/crontab and additional files can be placed under /etc/cron.d/ or in /var/spool/cron.
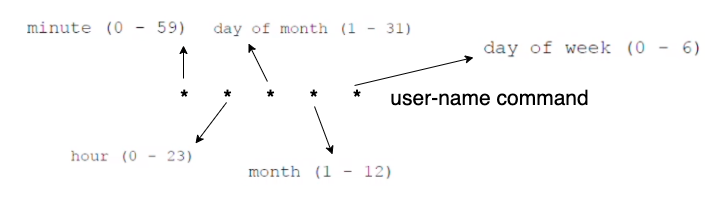
*, means all.
dash (1-15) means range of these number, for example the task will run every 1, 2, 3…15 minute of the hour.
comma (mon, tue, fri) is a list of values. here the task will run every Monday, Tuesday and Friday.
*/3, means that this will run every third month of the year
- anacron, can run once a day, once a hour, a dai or a month. This is for less frequent tasks and the main configuration is in /etc/anacrontab.
- systemd timers, can run tasks under various conditions, such as after a delay from system boot or another unit that is required to be up, or even choose a specific date to run the task. Timers are file ending with .timer and are typically activate a service with the same service name. For example a foobar.service will be managed by foobar.timer.
We can check the timer status systemctl status foobar.timer, and also list the upcoming timers, systemctl list-timers.
The crontab command
Allows users other than root to configure cron tasks.
Allow or deny users from accessing cron tasks
You can find that in the /etc/cron.allow or /etc/cron.deny

Kernel & Device Configurations #
What is strong about linux, is that it is very modular in his nature. The kernel is loaded by the bootloader, and new functionality can be added by adding source files to the kernel and re-compile it.
Kernel modules are stored in the directory /lib/modules/kernel_version.
For example, the ext4 module is located under
/lib/modules/<version>/kernel/fs/ext4/ext4.ko.xzThe dependencies of a module will exist in:
/lib/modules/<version>/modules.depThe lsmod command shows all the modules that have been loaded. With the modinfo command we can see all the information about a module.
lsmod

modinfo ext4

# To load a module
modprobe modulename

# To unload the module
modprobe -r modulename
The configuration for modprobe command in located in the /etc/modprobe.d and we can add additional configuration by adding a new *.conf file.
Valid commands for modeprobe are:
- alias
- install
- options
- remove
- blacklist
The proc FS
It is a special virtual FS with virtual files that represent:
- the current state of the kernel
- the running processes in the system
- the hardware information
- system configuration information
For example we can check the cpu family of the system like:
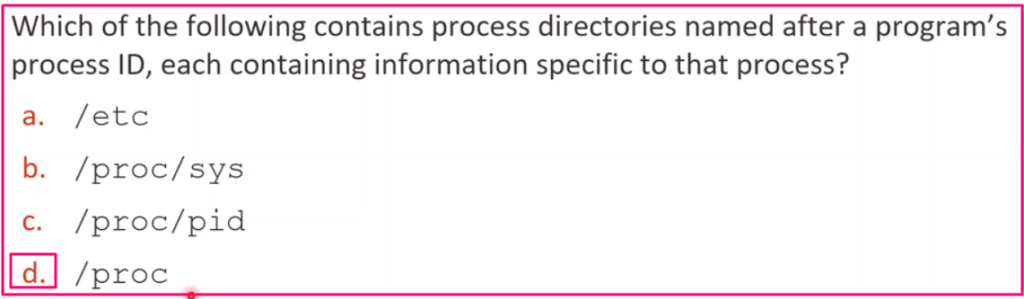
cat /proc/cpuinfo | grep 'cpu family'We can also find all the processes running in the /proc fs that are currently running on the system. Each number is the process ID and inside the directory we can find all the information and the resources that this process in using.
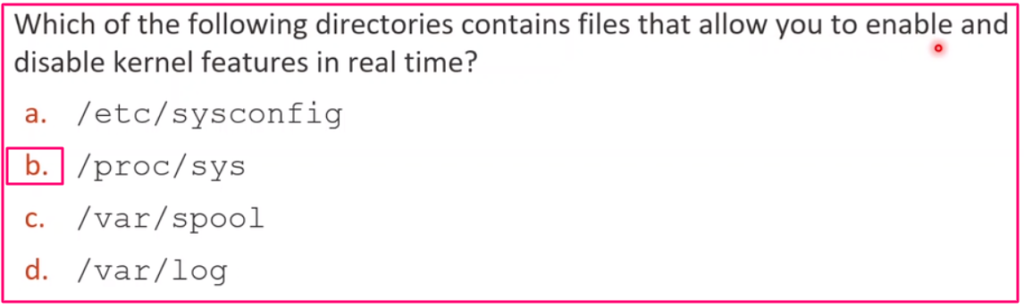
The is also one directory /proc/sys which contains info about the system and also can be used to modify kernel parameter but they are not persistent. They are deleted after the reboot.
A way to change these kernel parameters in the /proc/sys directory is to use the sysctl utility.
# View the sys settings
sysctl -a

# Modify kernel parameter
sysctl -w kernel_parameter=value
To make these changes persistent, we can add them to file under the /etc/sysctl.d or use the sysctl -p filename command to make these changes immediate.
# For example, to override the vm.max_map_count setting
vi /etc/sysctl.d/vm-max-map.conf

# Paste the following
vm.max_map_count=262144

# And verify
sysctl --system
The sysfs Filesystem
It is mounted on the /sys, and it provides access to hierarchy of kernel objects.
The lshw commad, provides hardware configuration information.
The udev directory (/dev)
udev rules determine how to identify devices and how to assign persistent name to them.
# Query information about a specific device
 udevadm info --query=path --name=/dev/sda

# Default udev rules
cat /usr/lib/udev/rules.d

# Creating custom rule for changing the symlink to block device
vi /etc/udev/rules.d/10-local.rules

#add the following line
KERNEL="xvdd", SUBSYSTEM=="block", SYMLINK="akentomi"

# And to trigger the new rules
udevadm trigger

# And check the new rule like
udevadm info --query=symlink --name=/dev/xvdd

Package Management #
RPM
rpm -qa

rpm -qi coreutils

rpm -ql coreutils

rpm -qf /usr/bin/ls

# List of config files associated with the package
rpm -qc bash

# Install and update a package
rpm -Uvh package_name

# Installing a new kernel
rpm -ivh kernel_package_name

# Removing a package
rpm -e package_name
Oracle Linux Yum Server
We can install new packages from remote sources like OL Yum Server which contains a number of packages.
YUM #
Yum provides package dependency checking. while rpm is not. Yum uses an sqlite database for dependency checking.
Creating local yum repo #
# First, clean cache
dnf clean all

# Then, disable all the repos
dnf config-manager --disable <repo>

# Create the local repo file
vi /etc/yum.repo.d/local.repo

# And paste the following
[ol8_baseos_local]
name=Oracle Linux 9 BaseOS Local ($basesearch)
baseurl=file:///localrepo/media/BaseOS
gpgkey=file:///etc/pki/rpm-gpg/RPM-GPG-KEY-oracle
gpgchack=1
enabled=1
DNF #
Introduced in OL8. It has backward-compatibility with yum and both dnf and yum use a symbolic link to /usr/bin/dnf-3.
Main configuration file for dnf is located in /etc/dnf/dnf.conf.
The /etc/yum.repos.d contains repo files. Following an example of a repo file:
cat /etc/yum.repos.d/oci-included-ol8.repo
[ol8_oci_included]
name=Oracle Software for OCI users on Oracle Linux $releasever ($basearch)
baseurl=https://yum$ociregion.$ocidomain/repo/OracleLinux/OL8/oci/included/$basearch/
gpgkey=file:///etc/pki/rpm-gpg/RPM-GPG-KEY-oracle
gpgcheck=1
enabled=1
DNF Commands
# Locating DNF packages
dnf list
dnf list installed
dnf list available

# Check available upgrades
dnf check-upgrade

# Upgrade, Install, Remove package
dnf install package_name
dnf upgrade package_name
dnf remove package_name

# DNF group commands
dnf group list
dnf group info groupname
dnf group install groupname

# Managing DNF repositories
dnf config-manager --add-repo repo_url
dnf config-manager --set-enabled repository
dnf config-manager --set-disabled repository

# List dnf repositories
dnf repolist

# DNF module commands
# Module is an entire software suite encapsulated into a module.
# Usually an application
dnf module list
dnf module info nginx
dnf module enable nginx:21.4
dnf module disable nginx
dnf module remove nginx

# Packages from modules can be install just with dnf install
dnf install nginx

# DNF Security Options
dnf updateinfo list
dnf updateinfo list cves
dnf --security update|update-minimal
dnf update cve CVE-2021-4040

# Clean dnf cache
dnf clean all
We can use automatic dnf update, install and notifications about packages combining with systemd timers, and we can notify the administrator via email and many more.
systemctl enable --now dnf-automatic.timer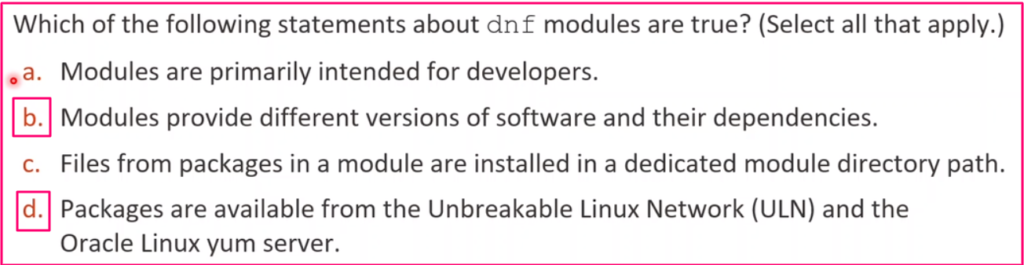
Ksplice #
Ksplice updates kernel and user space libraries on a running system, in the background, without restarting or halting the system. Ksplice requires an Oracle premier subscription. It works both with UEK and RHCK.
Installation packages are obtained from the ULN while updates are obtained from the Uptrack Oracle Server.
Standard client: uptrack package installed and is getting updates for kernel space.
Enhanced client: ksplice package installed and receives updates for both kernel and user space.


Users & Groups Administration #
Each user belongs to a private group but also, a user cancan belong to more than one group.
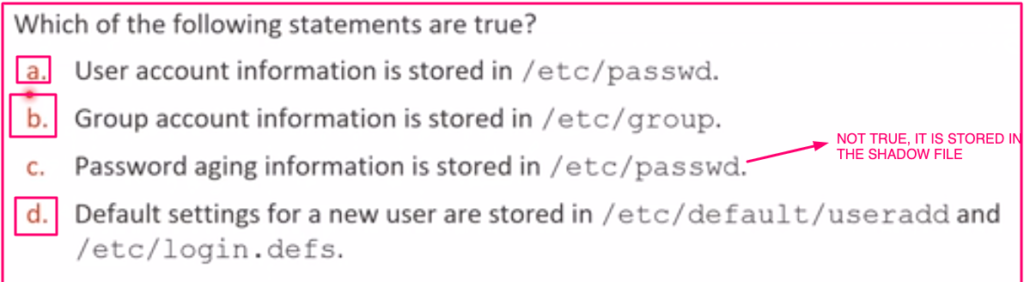
Important directories and files:
# User account information
/etc/passwd
# Content structure
username:placeholder:UID:GID:GESOC:home directory:shell

# Group information
/etc/group
# Content structure
groupname:placeholder:GID:group separated users

# User shadow passwords are encrypted user passwords accessible only to root user
# User hashed passwords
/etc/shadow
# Content structure
username:hashed password:password aging information

# Group hashed passwords
/etc/gshadow
# Content structure
groupname:hashed password:GID:comma-separated members

# Security policies when adding or updating users
/etc/login.defs
User Account Administration
# Command
useradd <options> usern_name

# User default setting file
/etc/default/useradd

# Creating an application account without login
useradd -s /sbin/nologin user_name

# Set password for user
passwd <options> user_name

# Modify User
usermod <options> user_name

# Delete a user
userdel <options> user_name
Group Account Administration
# Create a group
groupadd <options> group_name

# Modify group account
groupmod <options> group_name

# Delete group
groupdel <options> group_name

# Administer groups, for example, add new user to a group
gpasswd -a user_name group_name
User Private Groups (UPG)
UPG is a system configuration idiom which allows multiple users collaborate on shared files without caring about permissions.
mkdir /shared
chgrp -R group_name /shared
chmod -R 2775 /shared
Password Aging
Requires users to change their passwords after a period.
chage <options> user_name

# Check user aging information
chage -l user_name

# Change aging for a user
chage user_name
Restricting use of su command
First of all. we use the su command to login as another user. When we use su –, this gives us a login interface. When we dont specify a user to login as with su, we will become a superuser by default.
We can limit access of su command only for users that belong to the wheel group. Example follows:
# Add user to wheel group
usermod -aG wheel user_name

# Uncomment the following line in /etc/pam.d/su file
auth required pam_wheel.so use_uid
Restricting use of sudo command
vi /etc/sudoers

# The following line explains that the root user can use all the commands
root ALL=(ALL)  ALL

# Add user to the sudoers, allowing certain commands for user ot run as sudo
visudo
# Add the following line, which allows a normal user to access commands
user_name ALL=(ALL) /usr/sbin/userdel, /usr/sbin/systemctl

# Check that user_name can use sudo commands mentioned above
[user_name]> sudo userdel new_user
Using Cockpit to manage Users/Groups with UI #
Cockpit is a UI where we can manage users and groups.
Enterprise User/Group Administration
Usually in companies user and group management is centralised with LDAP or NIS.

Partitions, File Systems & Swap #
Disk Partitions
Partitions divides a disk into logical disks. Each partition is treated as a separate disk.
The minimum partitions recommended are:
- / (root)
- /boot
- /boot/efi
- swap
During OL installation, 3 primary partitions are created.
- xvda1: mounted on /boot
- xvda2: mounted on /
- xvda3: mounted on /home
- xvda4: the last partition that is dividable into sub-partitions, since the maximum partition number is 4. For example if we create anther partition xvda5, it will be a sub-partition of xvda4.
Partitions are listed on the following file
/proc/partitions

# To have kernel re-read the partition table
partprobe device_name
Anatomy of device name

The fdisk utility
| fdisk | -d | Delete partiotion |
| fdisk | -l | List partitions |
| fdisk | -n | Add a new partition |
| fdisk | -p | Print the partition table |
| fdisk | -q | Quit without saving changes |
| fdisk | -w | Write to partition table and exit |
The cfdisk is a similar utility but with a GUI.
File Systems & Mounting
A filesystem is a way that an operating system organizes files on a disk. In linux we have many different types of FS’s.
mkfs -t ext4 /dev/xvdb1
mkdir /Test
mount /dev/xvdb1 /Test
df -h
To access a FS we need to first mount the FS. Mounting a filesystem means making a filesystem accessible at a certain point in the Linux directory tree.
# Mount a new disk device
mount /dev/xvda2 mount_point
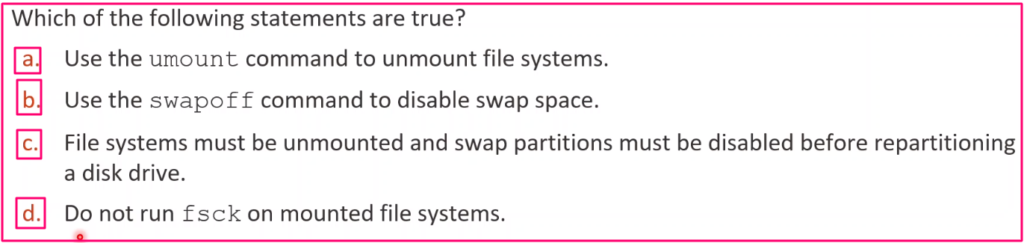
# Unmount FS
umount /dev/xvda2
# File that keeps the mount tables
/etc/fstabSwap Space
swap space is used when there is insufficient RAM in system.

Networking #
Networking Manager is a daemon which automates network configuration in the system. We can interact with Network Manager through nmcli, nmtui, various GUIs that are part of the desktop versions as well as the D-Bus interface.
# Show overall status of NetworkManager
nmcli general status

# Show or change hostname of the system (/etc/hostname)
nmcli general hostname

# Get or change NM logging level
nmcli general logging

# List connection profiles
nmcli connection show

# Activate a connection
nmcli connection up id eth1

# Add static route (alternative to ip route command)
nmcli connection modify ... +ipv4.route ...

# Disable wifi with radio
nmcli radio wifi off
NM uses connection profiles to manage network configurations. The configuration files are located in /etc/sysconfig/network-scripts and the file format look like: ifcfg-<network interface>
/etc/hosts : maps hostnames with IP addresses.
/etc/resolv.conf : provides access to DNS, Identifies DNS and is generated by the Network Manager
/etc/sysconfig/network: global information for all network interfaces
/etc/sysconfig/network-scripts/route-interface : Add routing configuration
/etc/nsswitch.conf : lists the order of the name searches.
With the ethtool utility we can show/change low level configuration of network interface, however they are not persistent after the reboot.
Custom Network Setting
We can run custom scripts when network state changes. In the /urs/lib/NetworkManager/dispatcher.d are the system’s scripts. To add custom scripts use the /etc/NetworkManager/dispatcher.d.
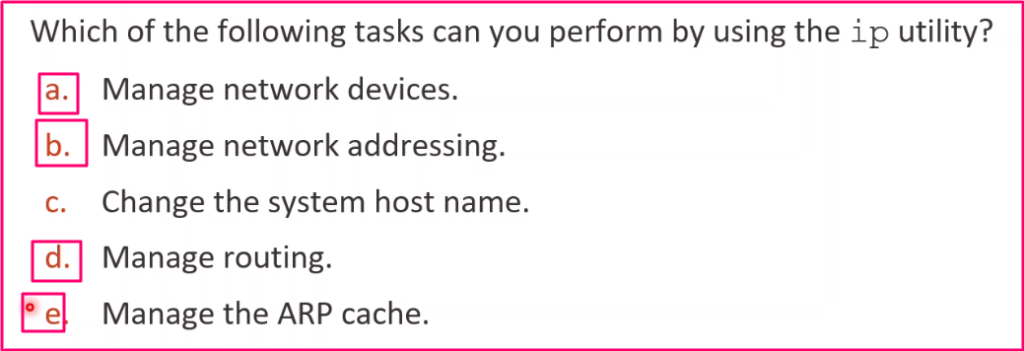
The ip utility
The ip utility is displaying and manipulating devices.
# Show status of all devices
ip addr

# Add IPV4 Address to network interface device
ip addr add 192.34.98.33/24 dev eth1

# Disaply entries of ARP table (resolves IP to MAC address)
ip neigh

# Display of manipulate the route table
ip route
Configure a new network interface
ll /etc/sysconfig/network-scripts/

# Add a new ifcng-eth1 interface
# Add ip address, remove UUID, DEFAULT_ROUTE=no, DEVICE=newname, remove GATEWAY

# Add entries to /etc/hosts
0.0.0.0 example.com gateway
0.0.0.0 host02.example.com host02
0.0.0.0 host03.example.com host03

# Reload settings
nmcli c reload
nmcli c up eth1

# Check if address was assigned to eth1
ip addr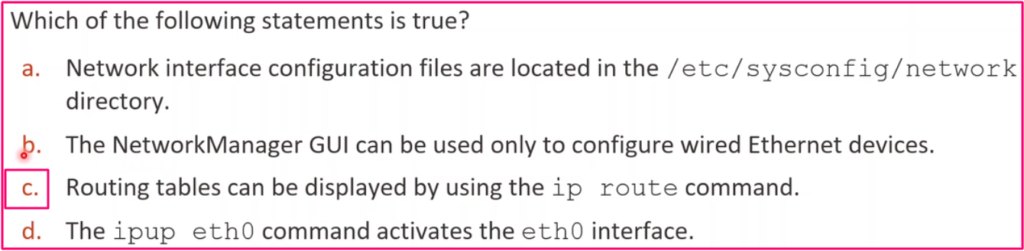
Useful Commands #
# How to verify kernel distribution and os version
uname -r

# List kernel packages installed on the system
rpm -qa | grep "^kernel"

# Copy local file to remote server
scp file user@hostname:/to/directory/file

# Copy file from remote to local server
scp user@hostname:/from/directory/filename .

# Generate public/private keys with RSA
ssh-keygen -t rsa

# Identify DNS servers in network that can resolve external host names
cat /etc/resolv.conf

# List storage devices
fdisk -l | grep /dev

# list all services in system
systemctl list-units --type service --all

# Check enabled and disabled systemd services
systemctl list-unit-files --type service


